Indoor Climate Sensor with BME680 and ESPHome
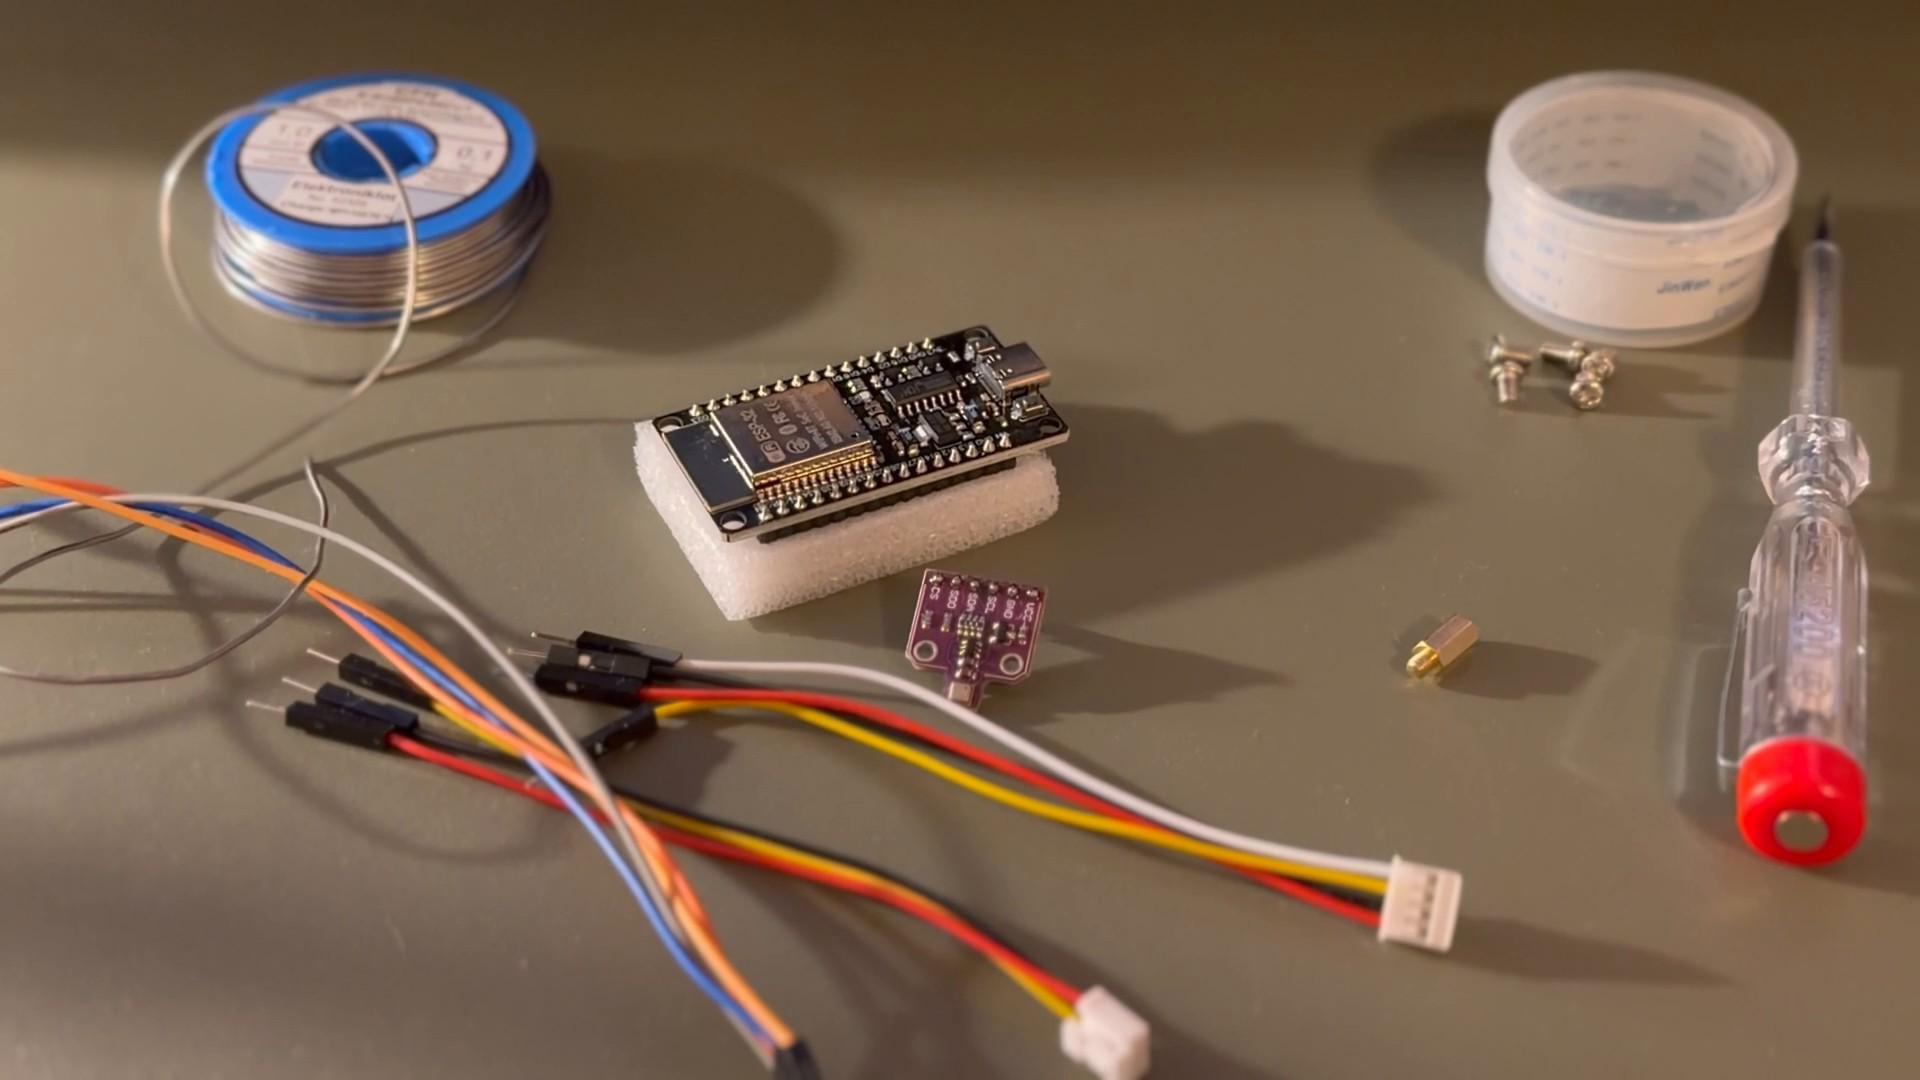
A BME680 on an ESP32 measures temperature, humidity and air pressure – and also notices how stale the air in the room is. Bosch’s BSEC2 library turns this into an air quality index that Home Assistant can use to remind you to ventilate. The build takes an hour; after that, the sensor needs one to two days to get to know its room.
Overview
Parts: ESP32 board, BME680 breakout, four wires, Home Assistant with ESPHome.
Result: seven entities in Home Assistant – temperature, humidity, pressure, air quality (IAQ) plus a rating in words, estimated CO₂ and VOC, and how reliable the IAQ value currently is.
1 WiringAufbau
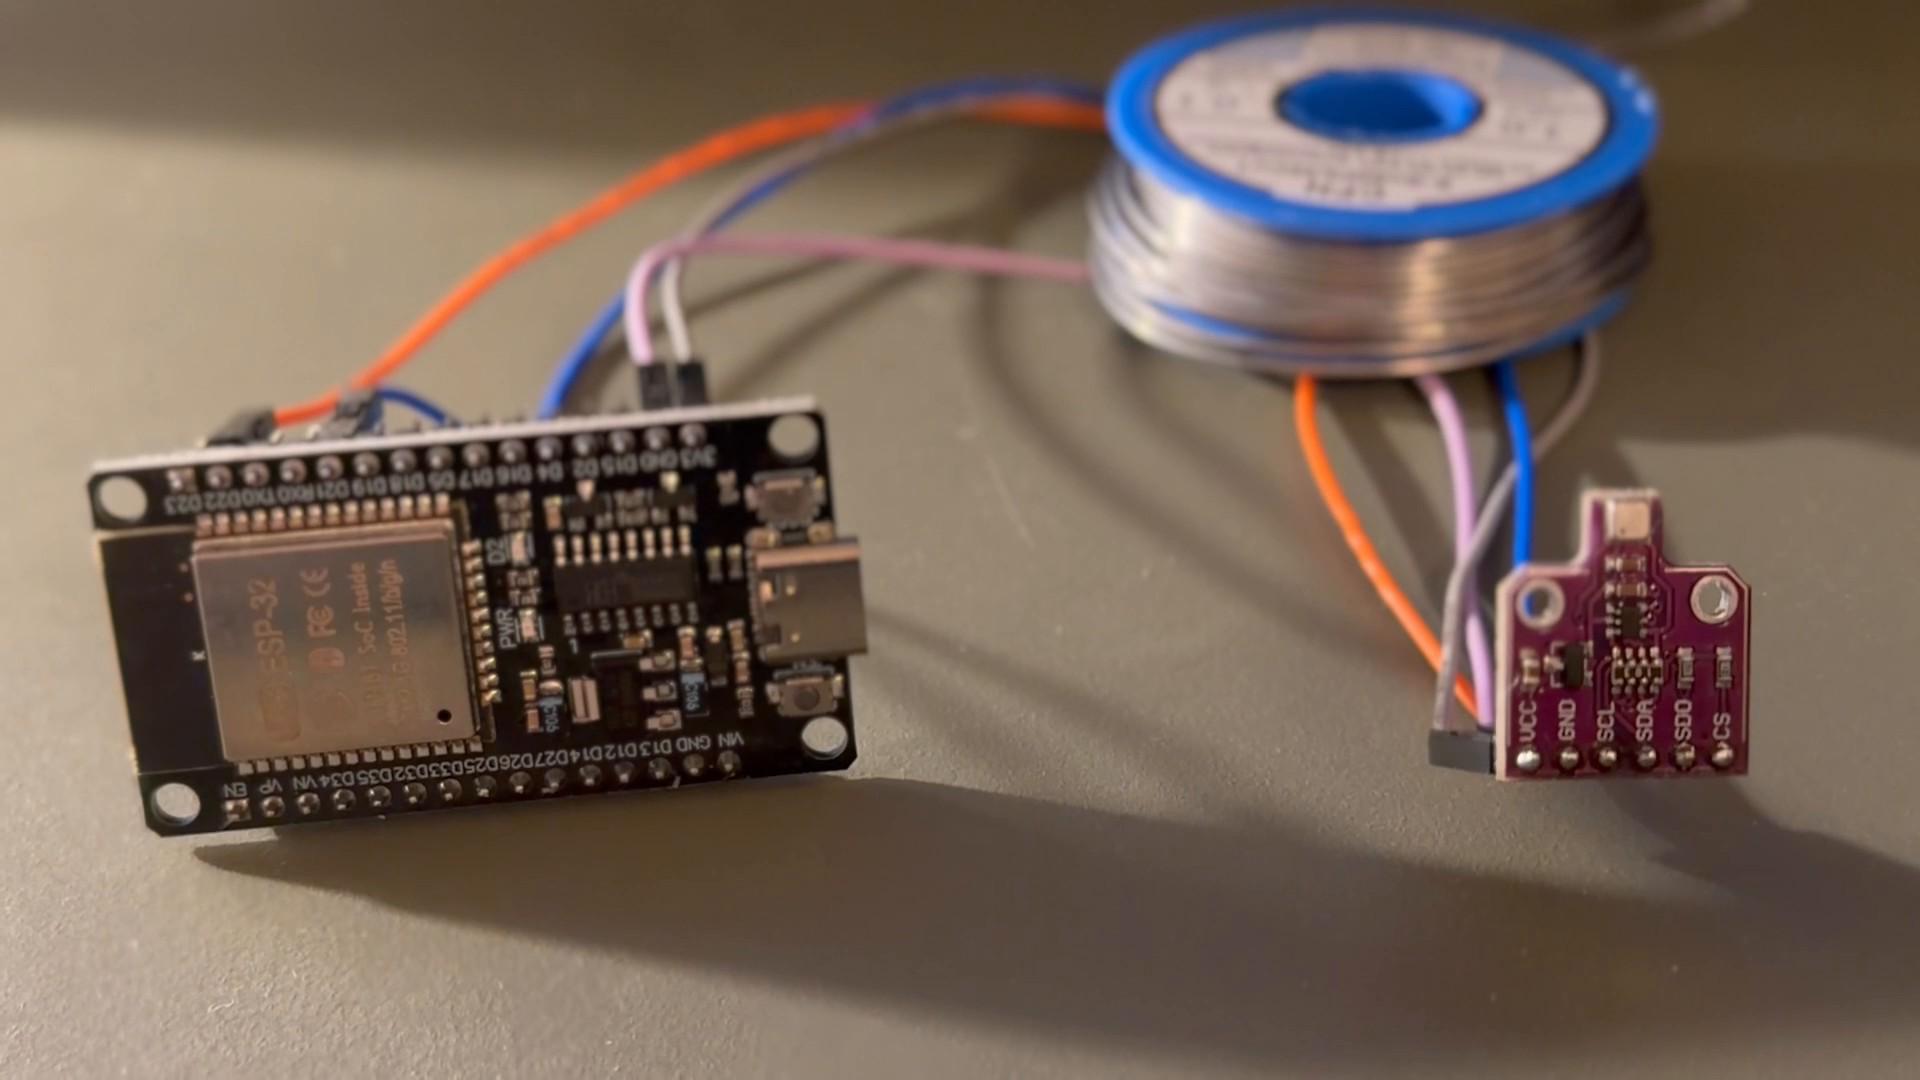
Goal: sensor on the ESP32’s I²C bus.
| BME680 | ESP32 |
|---|---|
| VCC | 3V3 |
| GND | GND |
| SDA | GPIO 21 |
| SCL | GPIO 22 |
The remaining pins (CS, SDO) are already wired for I²C on common breakout boards.
2 Flash the configurationAufbau
Goal: ESPHome firmware with BSEC2 on the ESP32.
WhyWhy BSEC2 instead of a custom formula?
The sensor itself only provides a gas resistance: high in clean air, low in polluted air. What counts as “clean” depends on the room. BSEC2 learns this baseline and scales the index to it – a fixed formula, by contrast, stays at around 20 and barely reacts.
First create a secrets.yaml with wifi_ssid, wifi_password, ap_password and api_key. Then the device configuration:
esphome:
  name: room-climate
  friendly_name: Room Climate

esp32:
  variant: esp32
  framework:
    type: esp-idf

logger:

api:
  encryption:
    key: !secret api_key

ota:
  - platform: esphome

wifi:
  ssid: !secret wifi_ssid
  password: !secret wifi_password
  ap:
    ssid: "Room Climate Fallback Hotspot"
    password: !secret ap_password

captive_portal:

i2c:
  - id: i2c_1
    sda: 21
    scl: 22
    scan: true                # shows the detected address in the log

bme68x_bsec2_i2c:
  i2c_id: i2c_1
  address: 0x77               # SDO open: 0x77, SDO to GND: 0x76
  model: bme680
  operating_age: 28d          # for the first calibration: 4d
  sample_rate: LP             # every 3 s; ULP (5 min) hardly calibrates
  supply_voltage: 3.3V
  temperature_offset: 0       # determine in step 5
  state_save_interval: 6h     # save calibration to flash

sensor:
  - platform: bme68x_bsec2
    temperature:
      name: "Temperature"
    pressure:
      name: "Pressure"
    humidity:
      name: "Humidity"
    iaq:
      name: "Air Quality"
      on_value:
        - text_sensor.template.publish:
            id: iaq_rating
            state: !lambda |-
              if (isnan(x))  return "unknown";
              if (x <= 50)   return "excellent";
              if (x <= 100)  return "good";
              if (x <= 150)  return "lightly polluted";
              if (x <= 200)  return "moderately polluted";
              if (x <= 250)  return "heavily polluted";
              if (x <= 350)  return "severely polluted";
              return "extremely polluted";
    co2_equivalent:
      name: "CO2 (estimated)"
    breath_voc_equivalent:
      name: "VOC (estimated)"

text_sensor:
  - platform: bme68x_bsec2
    iaq_accuracy:
      name: "Calibration"
  - platform: template
    id: iaq_rating
    name: "Air Quality Rating"
    update_interval: never
Do the first flash via USB; all further updates run over the air (OTA).
3 Add to Home AssistantAufbau
Goal: readings as entities in Home Assistant.
The device is usually discovered automatically; otherwise add it under Settings → Devices & services → ESPHome.
4 Let it calibrateEinregeln
Goal: Calibration shows 3 – Calibrated.
WhyWhy does it take so long?
BSEC2 needs to experience both clean and polluted air to set the baseline. Only from level 3 onwards is the state saved to flash – a restart before that starts over.
Let the sensor run openly in the room without reflashing or restarting it. A brief scent stimulus helps: hold a felt-tip pen or a little disinfectant nearby for a few seconds, then air the room thoroughly. A brand-new sensor additionally needs up to 48 hours of burn-in.
| Calibration | Meaning |
|---|---|
| 0 – Stabilizing | start-up phase |
| 1 – Uncertain | baseline not yet determined |
| 2 – Calibrating | calibration in progress |
| 3 – Calibrated | values reliable |
5 Enclosure and temperature correctionEinregeln
Goal: readings not skewed by the ESP32’s heat.
WhyWhy a separate compartment?
The ESP32 warms up by several degrees during operation. If the sensor sits near it or in its exhaust air, it reads too warm and too dry. Room air also reaches the sensor only by diffusion – in still air it reacts sluggishly and calibrates poorly.
- Put the sensor in its own compartment, separated from the ESP32 by a wall, below or beside it, never above.
- Give the sensor compartment generous openings on at least two sides, with the opening in the metal lid facing the room air.
- Let printed enclosures air out for a few days before the sensor moves in – outgassing distorts the baseline.
- Avoid sunlight, radiators and stoves.
After 1–2 hours in the enclosure, compare the temperature with a reference thermometer and enter the difference as temperature_offset (e.g. -2.5). The saved calibration state is kept when reflashing.
Reading the values
| IAQ | Rating |
|---|---|
| 0–50 | excellent |
| 51–100 | good |
| 101–150 | lightly polluted |
| 151–200 | moderately polluted |
| 201–250 | heavily polluted |
| 251–350 | severely polluted |
| above 350 | extremely polluted |
The trend says more than a single value: a rise reliably indicates that it is time to ventilate.
Troubleshooting
| Observation | Cause | Remedy |
|---|---|---|
| IAQ stays at around 50 | calibration still running | keep it running (step 4) |
| Calibration stays at Uncertain | uniform air, restarts or ULP | scent stimulus, no restarts, LP |
| Temperature several degrees too high | heat from the ESP32 | separate, temperature_offset (step 5) |
| Sensor not found | address or wiring | I²C scan in the log, 0x76/0x77, SDA/SCL |
| IAQ implausible after fitting the enclosure | outgassing of the print material | air it out, let it recalibrate |